Direct Answer / Key Takeaway: Check the actual trolley‘s route, turns, threshold, floor and door movement before fixing a blast chiller position or specifying an entry ramp.
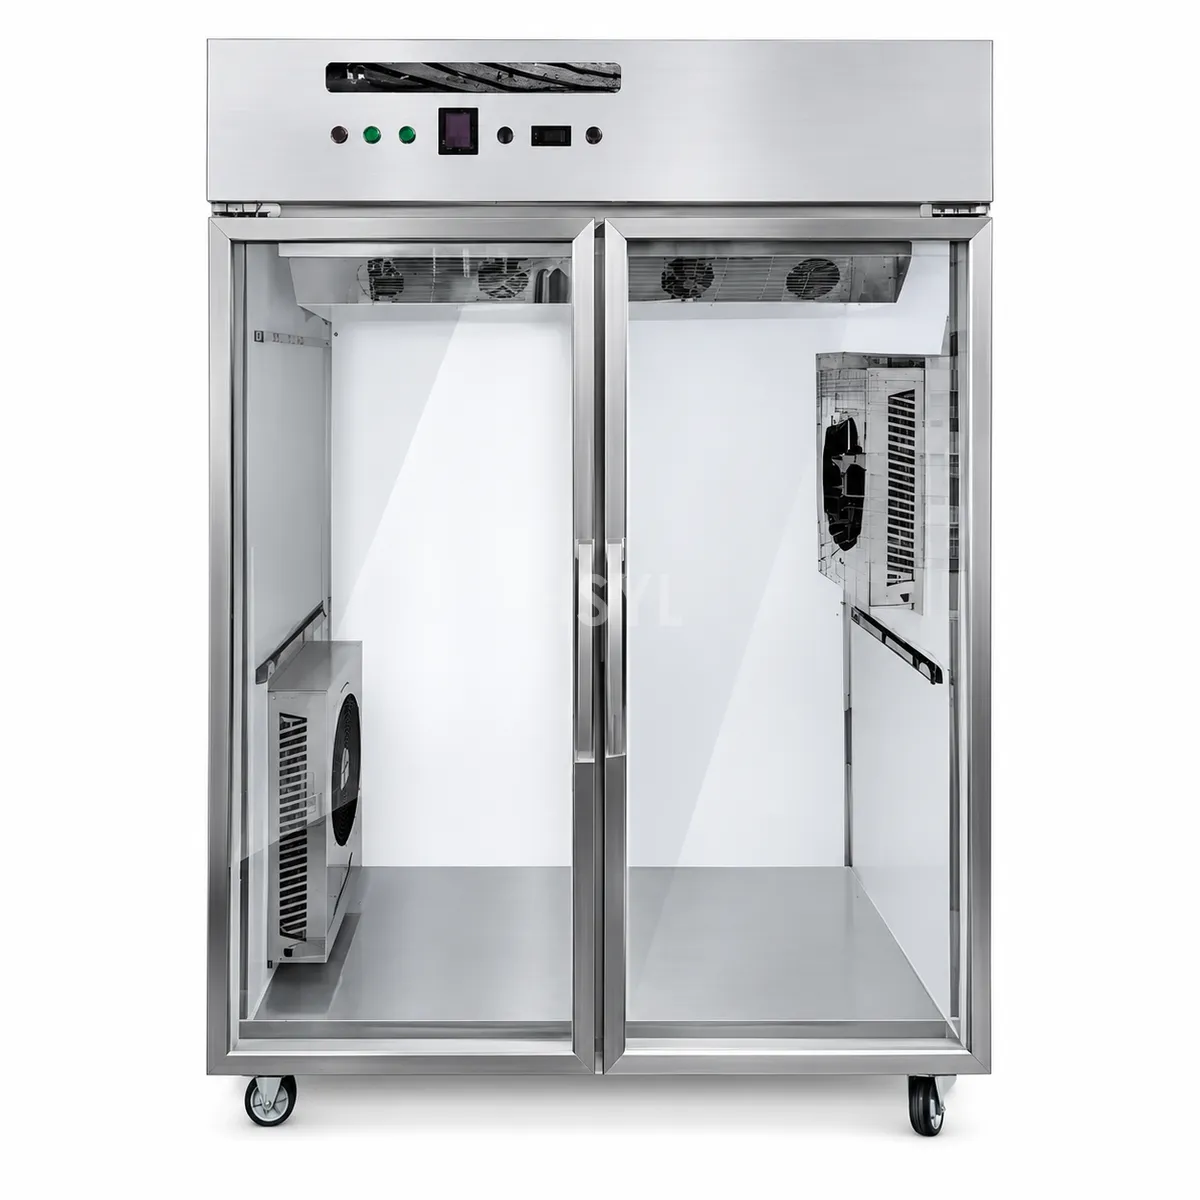
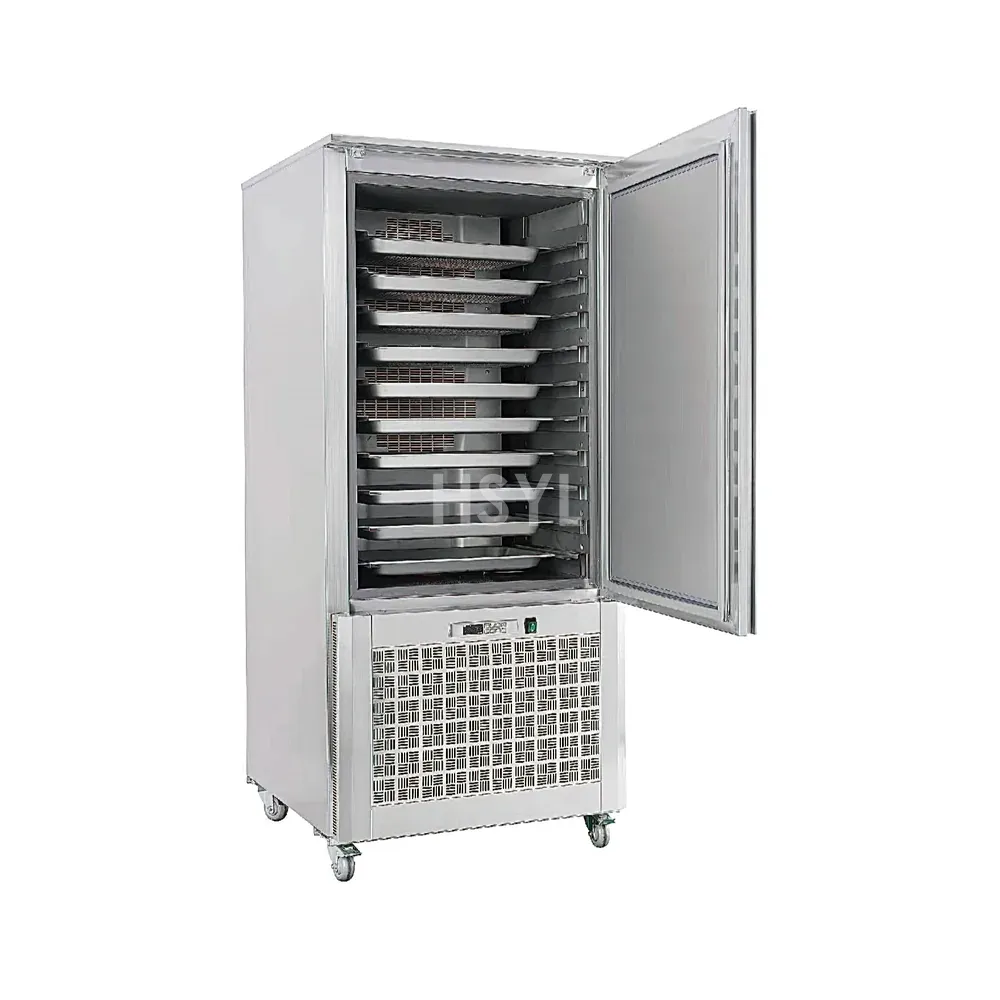
The entry to a roll-in blast chiller must work with the actual trolley and finished floor. Check the entire transfer route before accepting a ramp or flush-floor detail. A trolley that passes through the door in a drawing may still be difficult to turn, control or position safely.
Obtain the chiller's installation and compatible-trolley information. Identify overall trolley geometry, wheels, handles, stopping/retention arrangement and the intended loaded condition. Have the responsible installer and site team agree a suitable route demonstration using representative equipment and a safe load arrangement, protecting food where relevant.
Follow the route from the previous process
Mark departure from the cooking or assembly position, corridor turns, doors and the approach to the chiller. Include a realistic nearby trolley or open machine door. Check the worker's position while steering and where another person can pass or wait without blocking the transfer.
At the chiller, show door swing, clear opening, threshold and the trolley's final position together. Confirm the trolley enters to the intended stop without touching the probe, fixed air parts or door hardware. Use the cooking-to-chiller transfer review to keep the upstream handoff in the same plan.
| Interface | What the responsible team must resolve |
|---|---|
| Finished level | The actual relationship between floor, cabinet entry and supplied accessories |
| Transition | Manufacturer-permitted ramp or entry detail and wheel clearance |
| Movement | Controlled entry, positioning, exit and the required working space |
| Fixed services | No clash with cable, waste route, nearby equipment or service access |
| Care | Access to clean and inspect the threshold/transition as intended |
Resolve uneven surfaces, an obstructed turn or an unsuitable transition through the responsible design and supplier. Do not add a loose plate, increase a ramp angle or remove a cabinet part as an on-site shortcut. The permitted detail may also depend on the cabinet's insulated-floor construction.
Include the route back out with the load in its post-process condition, using the appropriate handling arrangements. A successful empty entry is not the whole transfer job. Check where the next process receives the trolley so it does not remain in the doorway after the cycle.
Freeze the accepted floor/interface drawing and identify any site work needed before delivery. Other utility requirements belong in the matching installation design; this route check does not prescribe voltage, current, drain trap or a universal ramp dimension. Release the location when the real movement and the approved construction agree.