Direct Answer / Key Takeaway: Coordinate braising-pan discharge, portioning, GN-pan handling and blast-chiller availability. Map the full batch timeline and validate the food process.
The braising pan to blast chiller workflow connects two controlled processes through several practical tasks: discharge, portioning, container handling, movement, loading and the chiller's next available release. Each task occupies time and space. A large cooking batch does not automatically become a complete cooling load at the instant cooking finishes.
Map the entire transfer using the product's approved food-safety process and the equipment's permitted operating methods. The layout, staffing and receiving capacity should support that process rather than relying on an unexplained maximum transfer time.
Set the product and receiving basis
Identify the recipe, batch quantity, approved cooking result and the required cooling validation. Record the containers actually used: material suitability, dimensions, permitted food load and handling arrangement. The responsible food-safety team must approve the product criteria and measurement method.
UK government chilling guidance provides official context for food businesses. The applicable operation and product process define the actual criteria; a capacity article should not assign a worldwide cooling limit or assume one container depth suits every food.
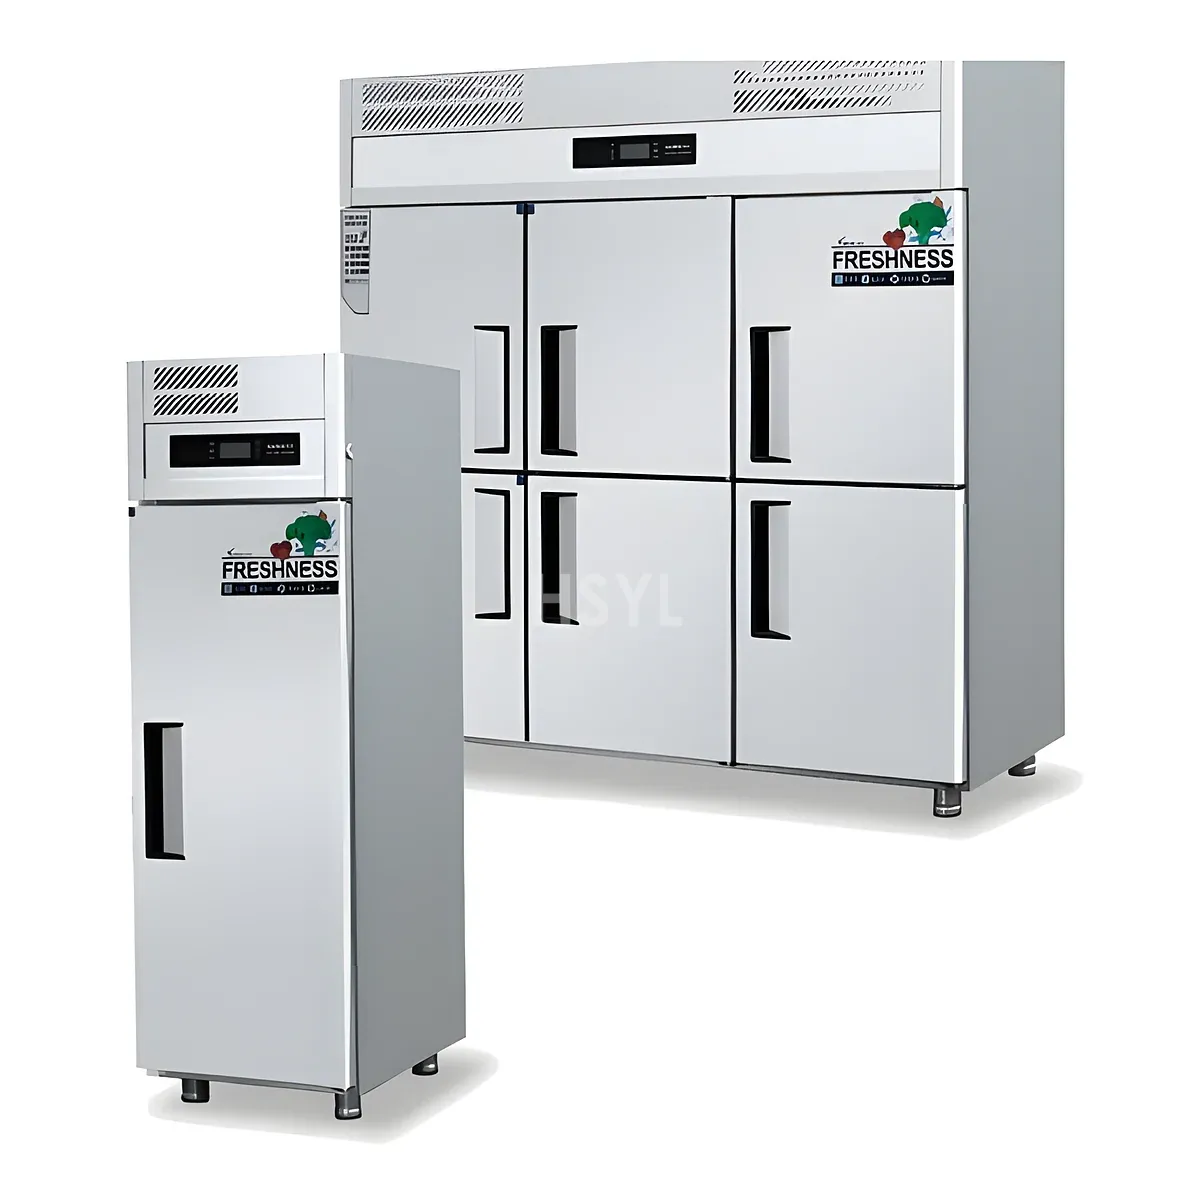
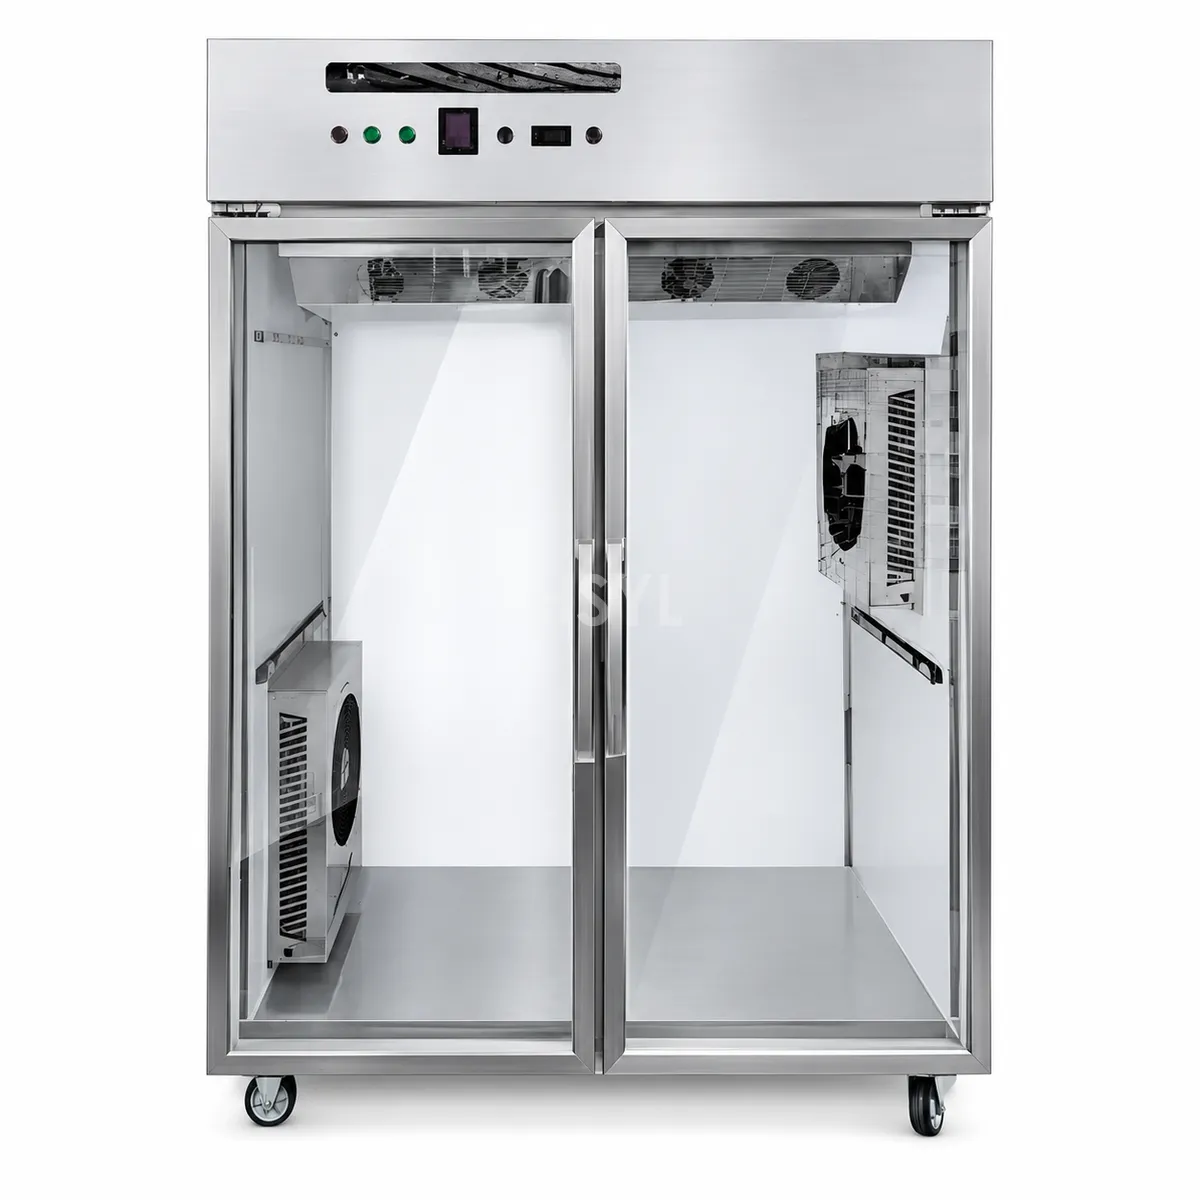
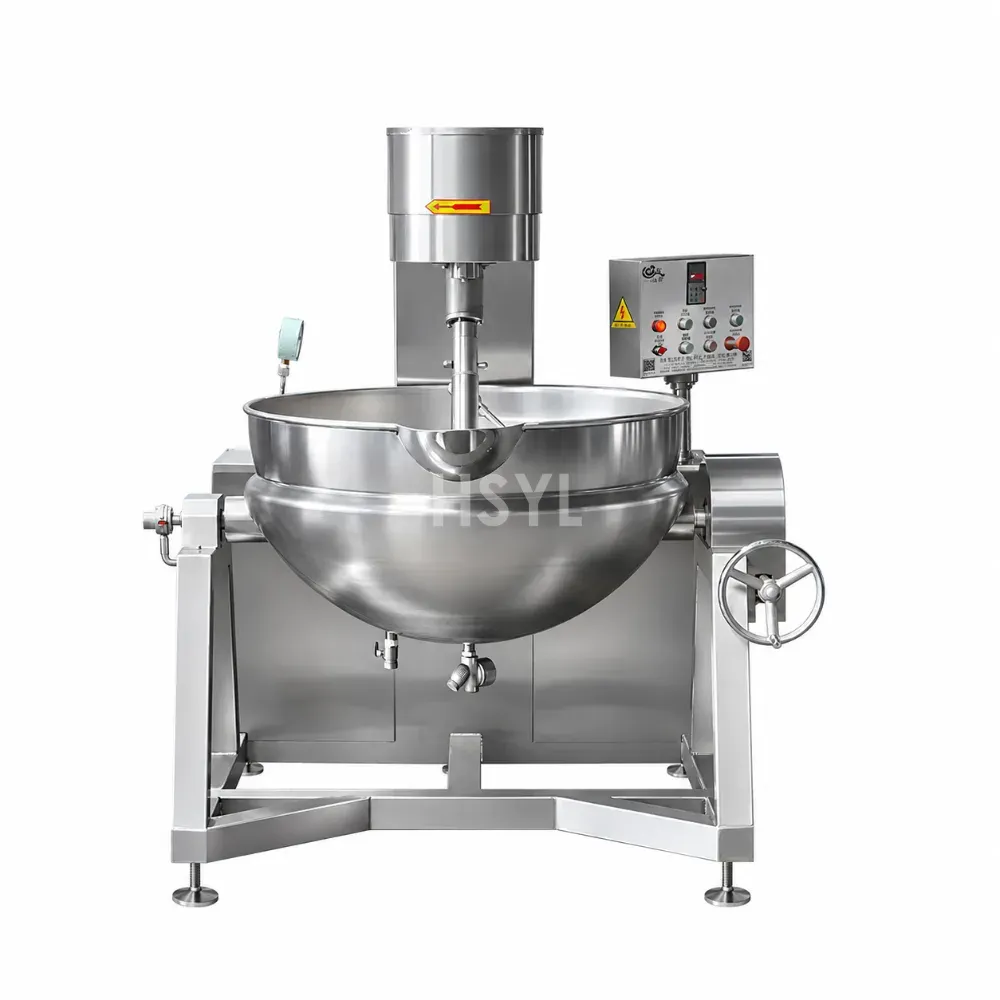
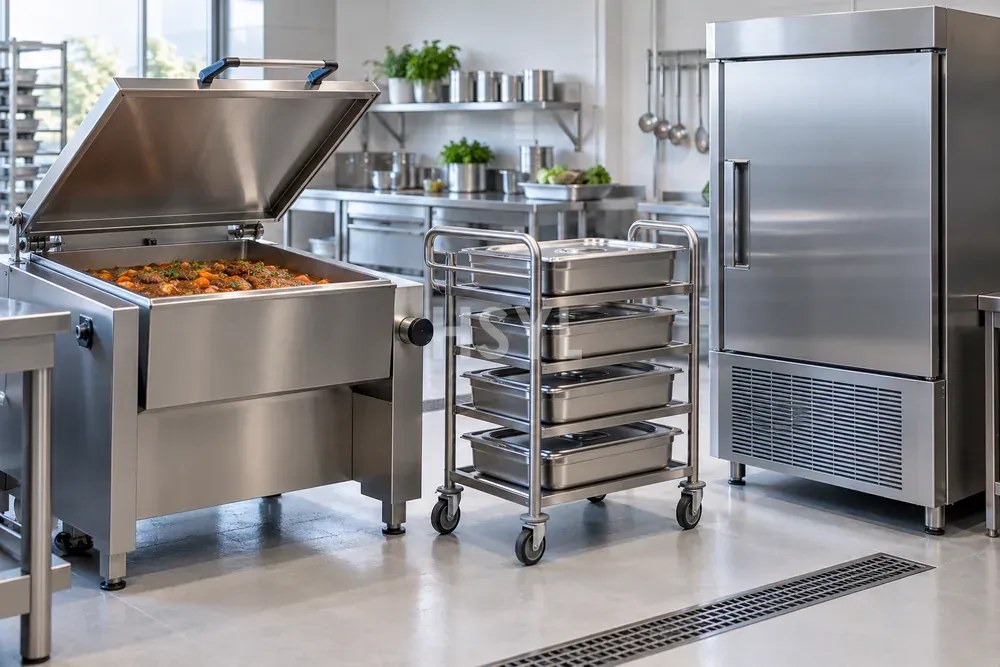
Identify the exact braising pan and blast chiller configurations. The discharge procedure, safe handling and loading conditions need controlled equipment information, not a generic illustration of two adjacent machines.
Put the tasks on one timeline
Choose the agreed starting boundary and track each container to its identified chiller position. Record when the product becomes available, when portioning begins, when the container is ready to move and when the authorized cooling sequence starts.
| Stage | Time record | Required coordination |
|---|---|---|
| Cooking release | Accepted batch ready for discharge | Receiving people and containers available |
| Portioning | Individual containers completed | Approved portion and loading conditions |
| Transfer | Departure and arrival | Safe movement route and access |
| Chiller loading | Identified load accepted | Available positions and released operating state |
| Cooling validation | Approved process measurements | Product identity retained throughout |
Keep the first and last container visible. Reporting only the time taken to push a trolley between machines can hide a long portioning queue or a wait for the chiller's previous load.
Check overlapping batches
Use a realistic day's batch schedule. If another cooking station releases food during the same interval, combine the arrival information before assigning chiller capacity. Keep each product's approved process and loading geometry distinct.
For an illustrative planning case, one cooking release produces twelve identified containers while another adds six before the receiving equipment is available for its next load. The design discussion concerns the arrival timeline and permitted concurrent arrangement, not simply the total number of containers. No capacity or cooling outcome follows until the actual product, configuration and process are verified.
The concurrent-load sizing guide addresses this overlap. Your transfer record adds the observed portioning and movement tasks that determine when those loads reach the equipment.
Rehearse the route without hiding handling work
Confirm the approved discharge and handling procedure with competent personnel. Review the receiving position, trolley parking, thresholds, door openings and unloading route. Include the space needed to manoeuvre the actual containers and equipment safely.
A route trial should not require staff to improvise handling of hot vessels or bypass an equipment safeguard. Record the people, handling aids and permitted work sequence, and resolve an unsuitable interface through the responsible equipment and site teams.
Observe cleaning and return of containers or trolleys as well. If the next batch depends on the same receiving set, its return cycle belongs in the schedule. A route that works once can still fail during consecutive production.
Release a transfer instruction with clear ownership
Document who accepts the cooking release, who portions and moves the food, who authorizes loading and who records the cooling result. Define exception handling through the facility's approved process so an unplanned queue does not become an undocumented food-safety decision.
Keep the recipe, configuration, timeline, loading plan and validation record together. This allows the supplier and operator to review the complete duty and prevents either machine's nominal capacity from standing in for the actual cooking-to-cooling workflow.