Direct Answer / Key Takeaway: Check the delivered table against its drawing, assemble its actual structure and confirm height, support and cleaning access before the kitchen uses it.
A worktable installation is complete when the delivered structure matches the order and provides the intended working surface in the actual room. Height adjustments, an uneven floor or a misplaced undershelf can change a useful design after delivery. Check those details before the table becomes covered with equipment and stored containers.
Compare the delivered pieces with the drawing
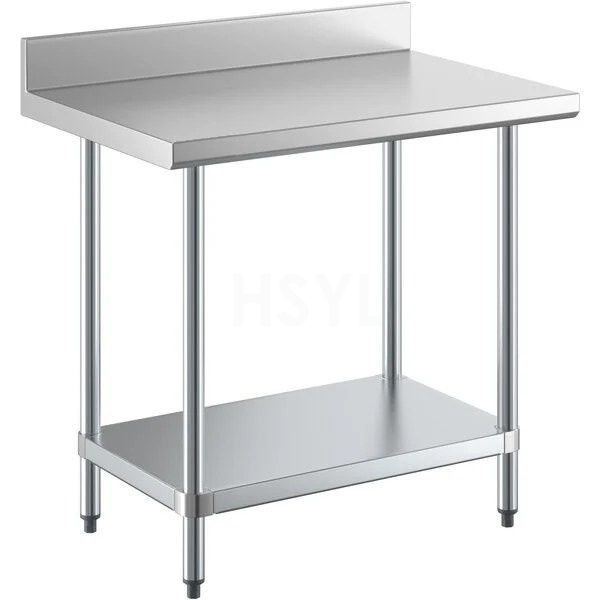
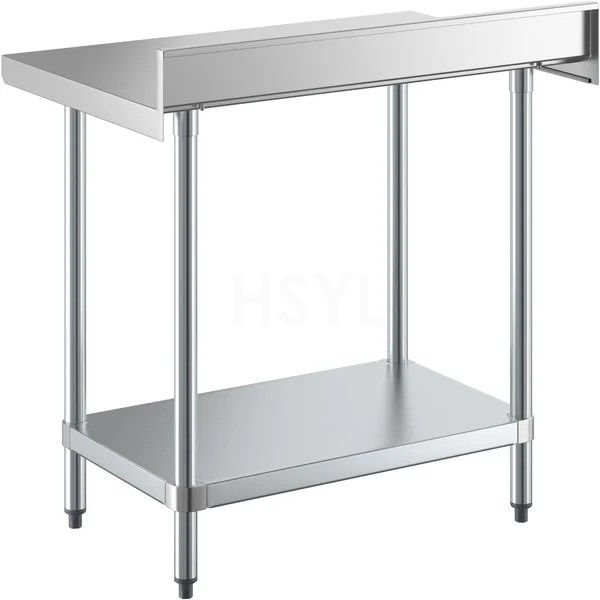
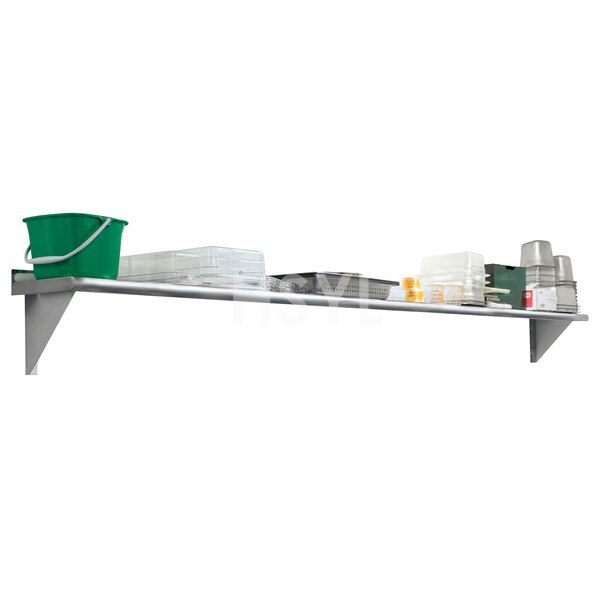
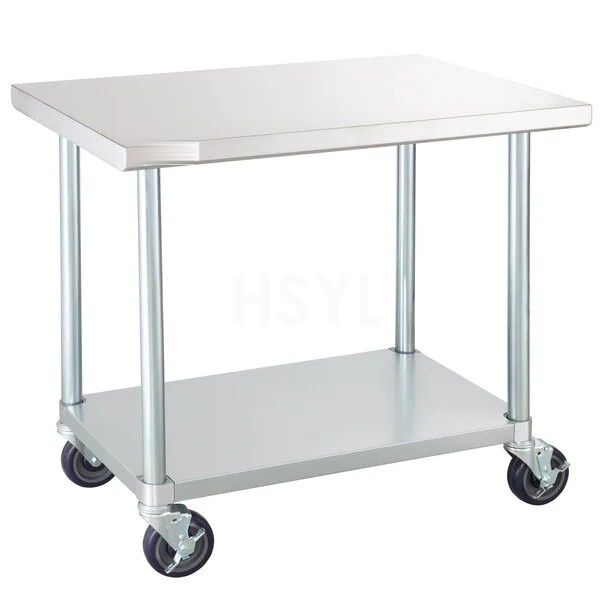
Identify the ordered top dimensions, working height, backsplash position, shelf arrangement and support construction. The catalogue distinguishes two-tier and three-tier worktables; those descriptions do not make their shelf positions interchangeable. Use the drawing and packing list for the actual order.
Inspect the accessible top, edges, legs, joints and supplied hardware before assembly. Record transport damage and missing items with photographs that show their location. Do not hide a damaged support inside the completed assembly or substitute an unapproved fastening because the kitchen needs the table immediately.
Build and position the specified structure
For a knock-down table, follow its supplied assembly sequence and use the correct braces, shelf attachments and hardware. For a welded table, do not assume it should be disassembled to pass through a doorway. Clarify the permitted handling method with the supplier before moving it through the delivery route.
Place the table at its agreed station and use the manufacturer's permitted adjustment to establish its support and height. All intended support points should function as designed. If the floor prevents that within the adjustment range, raise the issue with the installer instead of balancing the table on improvised packing.
Measure the finished working height with the top in place, then check its relationship with adjacent benches and the intended task. An adjustment that removes rocking may also change that relationship. Keep door swings, cleaning routes and trolley movement visible while making the final position decision.
Check the space underneath with real items
Place the intended containers on the undershelf without exceeding the supplier's limits. Check that staff can retrieve them without striking braces or reaching around another appliance. An empty shelf can appear generous while its posts prevent a large bin from fitting.
Leave access to the room's existing service points and cleaning areas. A passive table does not require an electrical, water or gas connection of its own. If an appliance will sit on top, resolve that appliance's support and service requirements separately. The worktable with undershelf should be specified for the load and task, rather than treated as an appliance installation kit.
Release the surface for use
Remove packaging and protective film by the supplier's instructions, then complete the site's approved pre-use cleaning. Keep any finish or assembly concern open until the supplier resolves it; covering a sharp edge or unstable joint is not an acceptance method.
Record the final position, working height, support arrangement and permitted loads with the table drawing. For a shared preparation station, the actual layout should also show what belongs on and beneath it. Use the movement-planning guide to review the occupied station. This gives staff a practical reason to preserve the arrangement after handover.