Commercial Deep Fryer Fire Safety Through Cleaning
A commercial deep fryer fire starts in oil residue, not the flame. Covers cool-down, cleaning a commercial deep fryer, and high-limit checks that stop most fires.
A commercial deep fryer fire is rarely the dramatic flame people imagine. In the majority of incidents the ignition source is a thin film of polymerised oil and carbon that has been building on the heating element and tank walls for weeks — fuel that lights long before the oil itself reaches its flash point.
Key takeaway: A commercial deep fryer fire almost always starts in degraded oil residue and carbon, not in the open flame. Cool the tank, strip the film, and verify the high-limit interlock every month — suppression systems catch what maintenance misses, not the reverse.
This page treats fire safety as a maintenance workflow rather than a suppression afterthought. The steps below turn cleaning a commercial deep fryer into the single most effective fire-control measure in the kitchen, because most fryer fires are preventable at the residue stage. For the wider equipment safety framework, see the compliance standards section.
Where Commercial Deep Fryer Fires Actually Start
Five ignition points account for the bulk of commercial deep fryer fire calls. The table maps each source to the temperature and interval at which it becomes dangerous, so you can schedule the check that stops it before a fault turns into a fire.
| Ignition source | How it develops | Prevention check | Frequency |
|---|---|---|---|
| Degraded oil auto-ignition | Refined oil ignites at 340–360 °C; polymerised film lights near a 300 °C element when a wet load hits the tank | Test free fatty acids; drain and filter when FFA passes 2.5% | Every 8–12 hr of frying without filtration |
| Carbonised element residue | A 2–3 mm carbon layer insulates the element and pushes local oil to 300 °C; flares when scraped | Weekly boil-out with alkaline detergent at 85 °C for 20 min | Weekly |
| Overflowing crumb tray | A 15 mm tray fills and spills into the burner box, putting flame on the oil film | Empty and wipe the tray on the 4-hour mark | Every service shift |
| Failed high-limit thermostat | Main control reads 185 °C while the element runs to 250 °C with no independent cut | IR-test the high-limit cut at 230 °C | Monthly |
| Grease in hood and duct | Grease over 3 mm on hood filters raises duct-fire risk under the cook line | Wash filters weekly; bare-metal duct clean | Quarterly (NFPA 96) |
Note the 340–360 °C auto-ignition band: refined frying oil does not need a spark. Once free fatty acids climb past 2.5% and the oil polymerises, a hot element surface at 300 °C is enough to start it, especially when a wet load hits the tank and flashes the surface. This is why cleaning a commercial deep fryer on a fixed schedule does more for fire safety than any extinguisher mounted beside it.
Step 1: Shut Down and Cool the Tank to a Safe Temperature
When an overheat or smoke event begins, the first action is to remove the heat source and stop adding fuel. Do not move the tank or dump hot oil.
- Cut power or gas at the fryer disconnect and confirm the burner or element is off.
- Let the oil cool below 120 °C before any skimming or draining — at 175 °C a water splash flashes to steam and throws oil.
- Keep the lid or crumb screen in place; oxygen control matters more than agitation.
| Oil volume | Passive cool-down | Forced cool-down (lid off, fan) |
|---|---|---|
| 15 lb countertop | 35–45 min | 20–25 min |
| 40 lb floor model | 70–90 min | 40–50 min |
| 90 lb battery vat | 120–150 min | 70–85 min |
Never rush the cool-down with water or by moving the tank — both create the splash that turns a near-miss into a commercial deep fryer fire.
Step 2: Strip the Oil-Residue Film Before It Carbonises
The carbon layer that causes element-overheat fires is 2–3 mm thick and forms in roughly 4–6 weeks of daily frying without a boil-out. Strip it on a weekly cycle.
- Drain oil below 120 °C into a sealed container; leave no more than 5 mm in the sump.
- Fill with alkaline fryer detergent at 82–93 °C (180–200 °F) and soak 20–30 min.
- Scrub element and walls with a nylon brush; steel wool pits the tank and seeds new carbon.
- Rinse twice and dry before refill; residual detergent foams and breaks the oil.
Track oil quality with a test strip rather than a calendar. Change the vat when free fatty acids pass 2.5% — a well-filtered, regularly boiled-out tank runs two to three times longer and never reaches the 340 °C auto-ignition zone. The full toolkit and detergent choice are covered in the hygiene and HACCP section.
Step 3: Inspect the Ignition Zone, Thermostat and Safety Interlocks
After the film is gone, inspect the parts that actually start or stop a fire. Three checks take under 15 minutes per vat.
- High-limit thermostat: confirm it is a separate device, not a software cap on the main control; IR-test that it cuts at 230 °C.
- Crumb tray and burner box: trays seated within 15 mm of the oil line, no buildup in the gas manifold.
- Safety interlock: the fuel shut-off must trip with the suppression system and with the hood fan failure.
Document each check on a dated log. Insurance and fire inspectors read that log first; a missing monthly high-limit test is the most common citation after a commercial deep fryer fire.
Step 4: Verify Before You Restart
Restart only after the tank passes a three-point verification. Skipping any one of these is how kitchens relight a fire they just extinguished.
| Check | Pass condition | How to verify |
|---|---|---|
| Tank restored | No residue, dry walls | White-cloth wipe, no black transfer |
| Refill level | Oil 25–40 mm below rim | Marked fill line, not above max |
| High-limit test | Cuts at 230 °C | IR thermometer on element, forced overheat |
| Interlock | Gas cuts on suppression trip | Manual suppress test, observe shut-off |
For the installation and commissioning procedure behind these interlocks, see the installation and maintenance section.
The Habits That Prevent Most Fryer Fires
Most fryer fires trace to a short list of repeatable mistakes. Each habit below closes one of the ignition paths in the first table.
- Skipping the weekly boil-out — carbon reaches 3 mm and insulates the element within six weeks of daily service.
- Frying wet product — ice and batter water flash at 185 °C and throw oil onto the flame; thaw and blot for 10 min first.
- Overfilling the crumb tray — a 15 mm tray overflows into the burner box every shift; empty it on the 4-hour mark.
- Trusting the main thermostat alone — without an independent high-limit cut at 230 °C, a control fault quietly runs the oil to 250 °C.
- Letting hood grease build past 3 mm — NFPA 96 needs bare-metal duct cleaning every 3 months in high-volume sites.
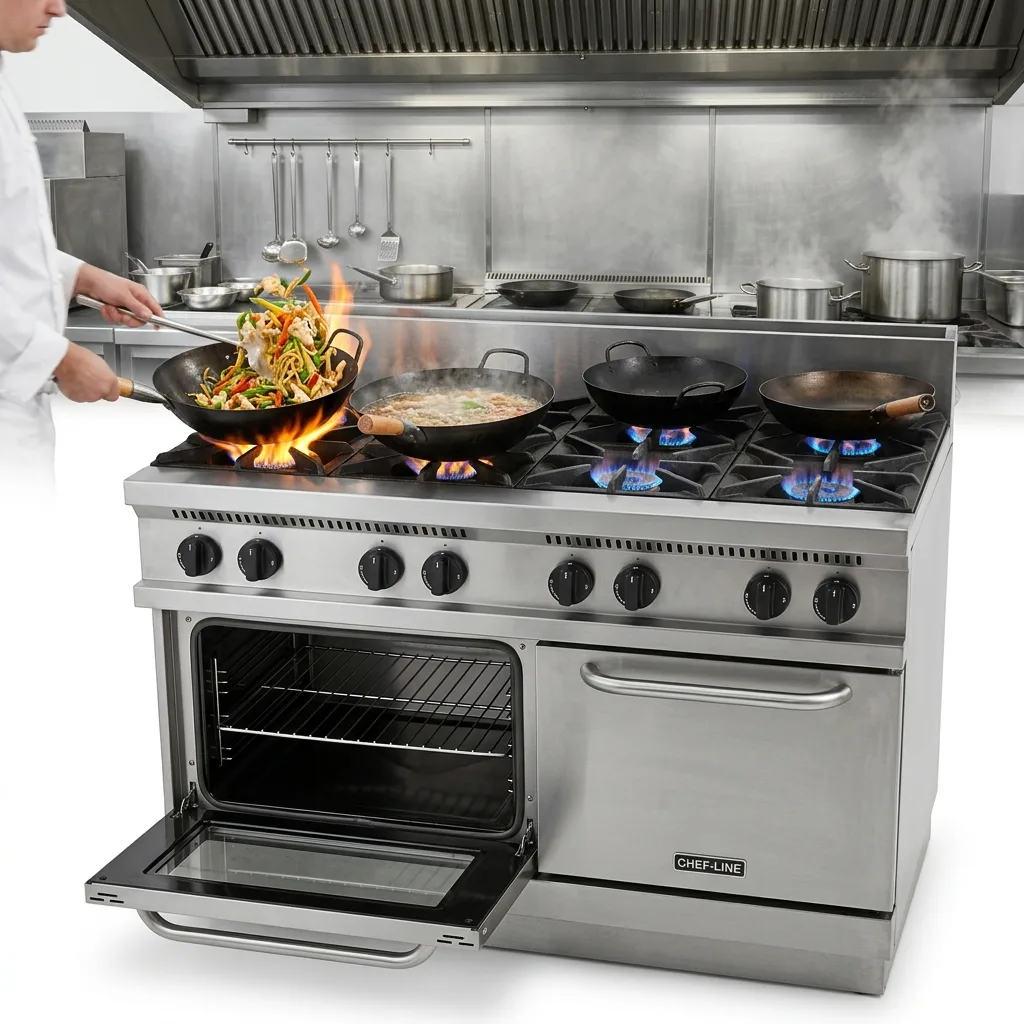
Browse the full cooking equipment range for fryers built with separate high-limit thermostats and suppression-ready cabinets.
Fryers with independent high-limit cutoffs
Specify a separate high-limit thermostat that trips at 230 °C, not a software cap on the main controller.
View cooking equipment →Hoods and suppression that interlock
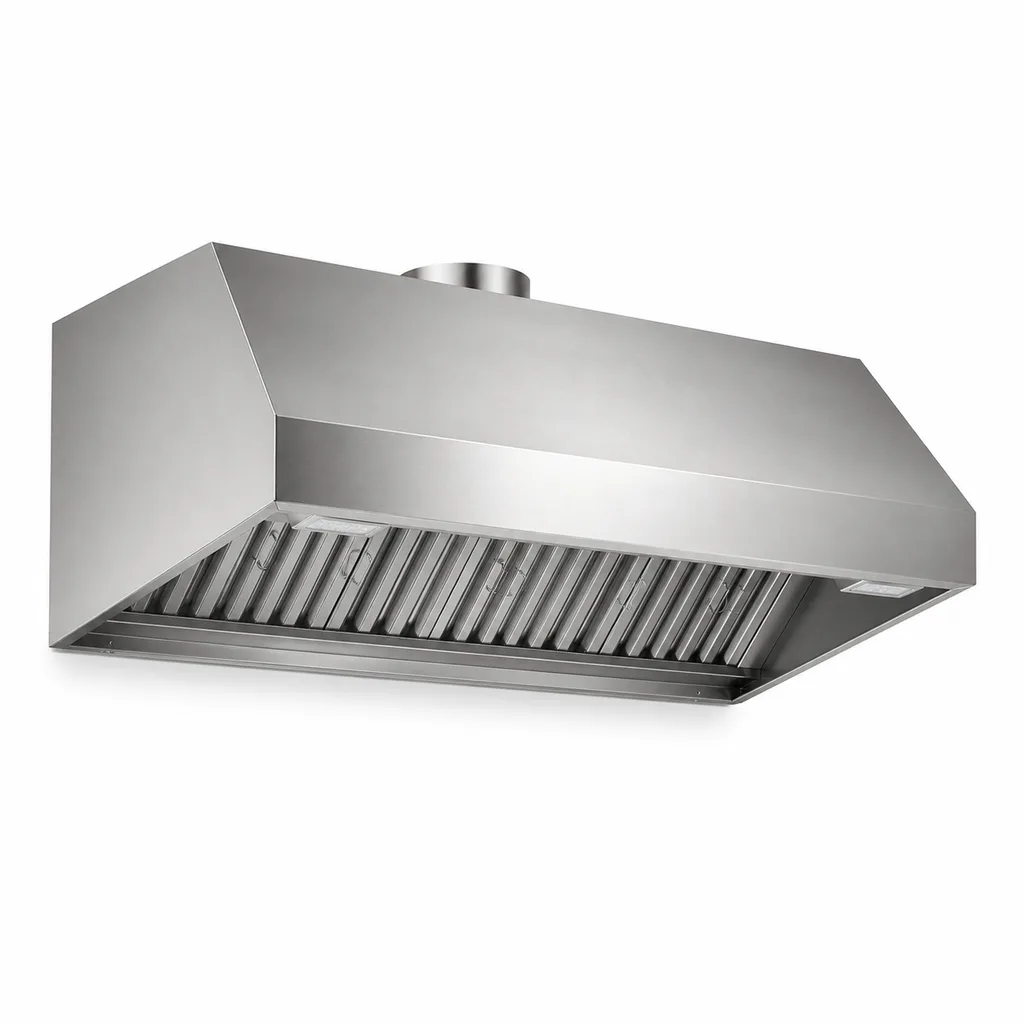
Pair every fryer with a Type I hood and a suppression system whose fuel shut-off is wired to the hood fan.
View compliance standards →Frequently Asked Questions
What temperature does frying oil auto-ignite at?
Refined frying oil auto-ignites at 340–360 °C, but polymerised residue can light at a hot element surface around 300 °C, especially when wet food hits the tank.
How often should a commercial deep fryer be boiled out?
Boil out the tank weekly with alkaline detergent at 82–93 °C for 20–30 minutes to stop the 2–3 mm carbon layer that insulates the element and drives local oil temperature up.
Do I still need a suppression system if I clean regularly?
Yes. Cleaning a commercial deep fryer removes the fuel, but a Type I hood and Class K suppression with fuel shut-off remain required by NFPA 96 for code and insurance.
How do I test the high-limit thermostat?
Use an IR thermometer on the element and force an overheat; a separate high-limit device must cut gas or power at 230 °C, independent of the main control.
Plan the Equipment Around Your Kitchen.
Share your menu, peak service demand, available space and site utilities. Tell us which equipment you are considering so we can review the requirements with you.